
How to charge bike battery
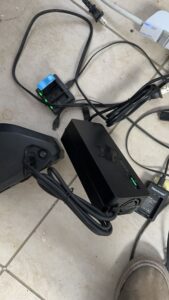
How to charge your bike battery correctly and efficiently? Here you can learn how to charge your bike safely. Charging a bike battery, especially an electric bike, is a simple process.


How to charge your bike battery correctly and efficiently? Here you can learn how to charge your bike safely. Charging a bike battery, especially an electric bike, is a simple process.

The duration of an e-bike battery on a single charge can vary widely depending on several factors, including:
Battery Capacity: The capacity of the e-bike battery is typically measured in watt-hours (Wh) or…..
If your e-bike battery is not charging, there could be several reasons for this issue. Here are some troubleshooting steps you can follow to identify and potentially resolve the problem
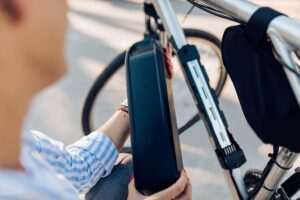
Distinguish between different styles of electric bike battery replacement, allowing you to understand what batteries can be replaced with old ones and how to determine the style that needs to be replaced.